Photo by skeeze
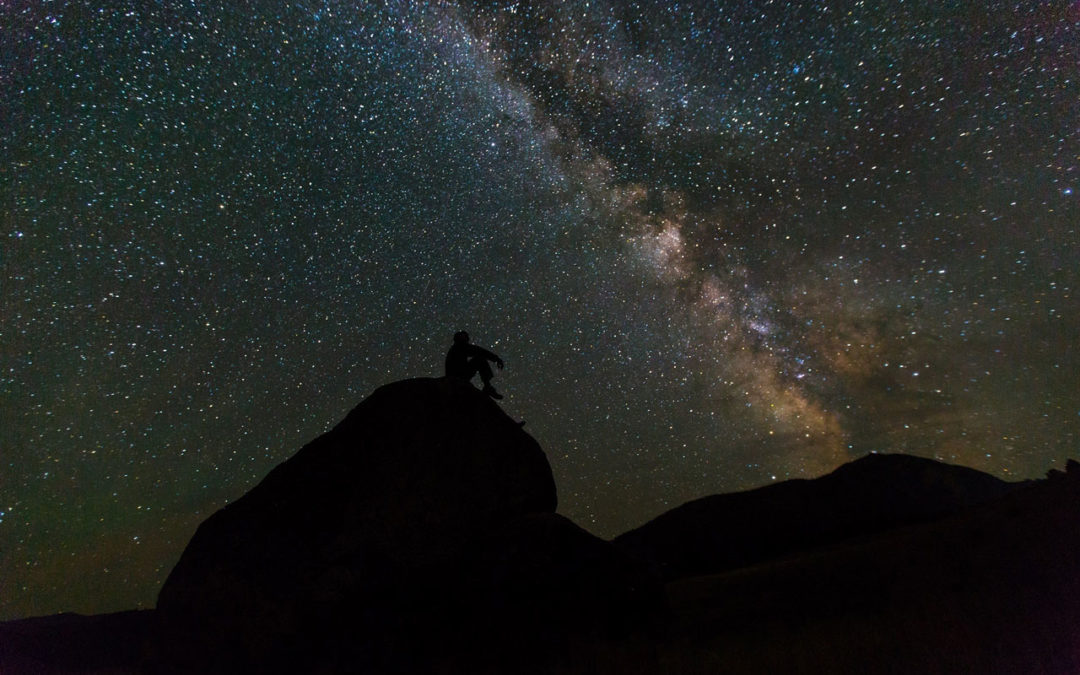
You've seen thousands of them, and they all fascinate you. Now it's your turn. You want to grab your camera and capture a beautiful and stunning photograph of the Milky Way yourself, but… how do you do it? How should we adjust our camera to achieve such incredible results?
Next, we'll reveal the best tricks you can use to fine-tune your equipment and achieve your goal. Let's take a look!
Put your camera in Manual Mode
The first thing we will do is adjust the three basic pillars of photographic exposure, which form what is known as triangle of the exhibition.
Diaphragm aperture
We'll start by adjusting the aperture. And this will be really simple, because we'll be working with the maximum aperture that our objective allows. It's advisable to use lenses with a minimum aperture of f/2.8, as working in very low light will greatly benefit you from having the fastest possible lens. However, if your lens doesn't have that wide an aperture, check its maximum and configure your camera accordingly.
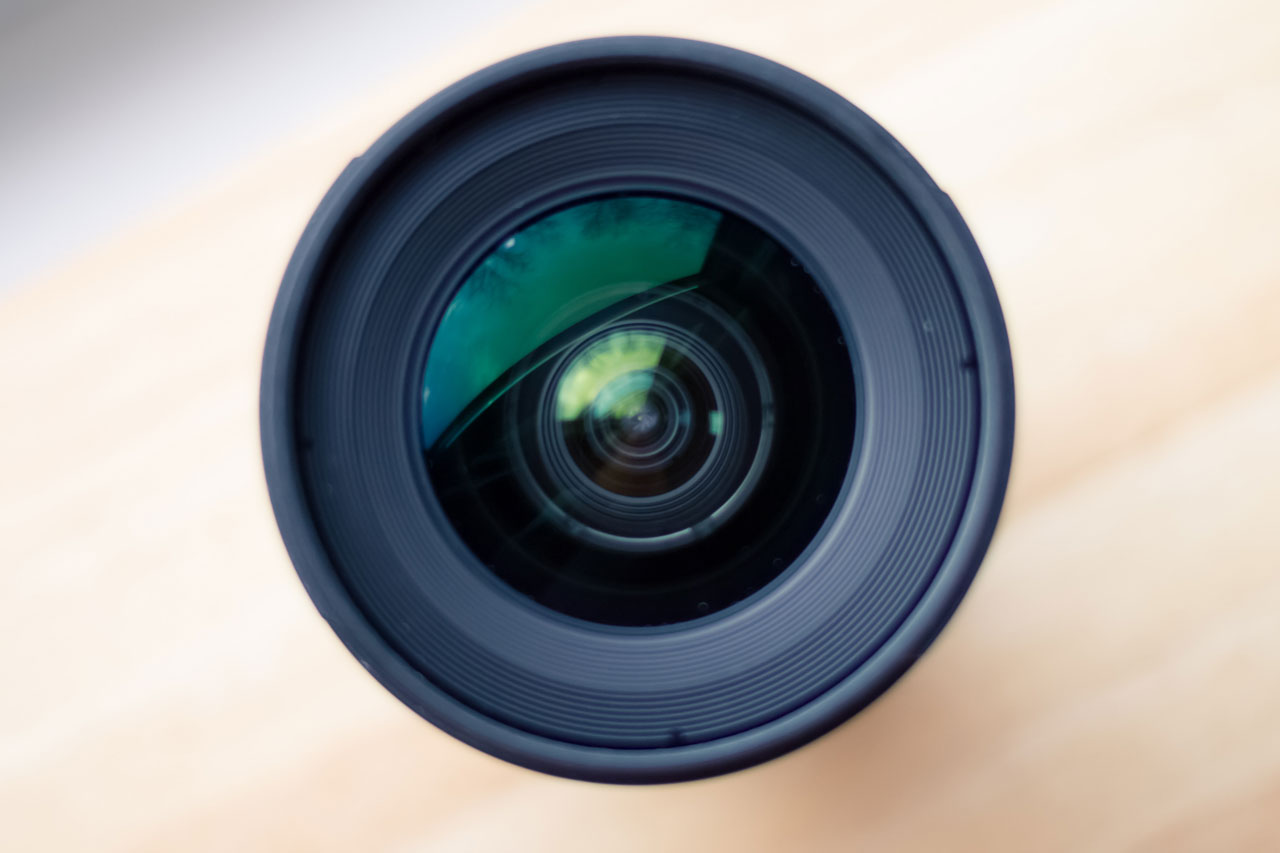
Photo by Samer Daboul
Shutter speed
The second setting to configure is the shutter speed, also known as the exposure time. It's important to emphasize that if you want the stars in your photographs to appear as points rather than streaks, you can't use excessively long exposure times. Let me explain. The Earth is constantly moving, so if you set your camera to an excessively long exposure time, you'll see the stars moving.
Rule of 500
And how do we know the ideal speed at which to fire? Well, the best thing is to use the 500 rule. This rule basically tells us that if we divide 500 by the focal length of the lens we are going to use, the number we get will be the exposure time limit with which we will get the stars to appear sharp in our photos.
So, to help you understand better, if we're going to take our photograph with a focal length of 14mm, the calculation would be 500/14 = 35. Therefore, 35 seconds would be approximately the maximum time we could take our shot without the star trails starting to become noticeable in the image.
However, as you know, there are no strict rules in photography, so you can try slightly increasing the exposure time given by that rule to achieve greater exposure, or in other words, a little more light in your shot. If we don't zoom in on the photograph, the star trails will be almost imperceptible, but that extra light will be very useful. We can also use Star Tracker: This accessory basically tracks stars by rotating at the same speed as the Earth but in the opposite direction, thus preventing the stars from leaving traces.
ISO
And finally, we still need to configure lISO sensitivity. There isn't a specific ISO setting for photographing the Milky Way; it will vary depending on the camera you're using, the maximum aperture of your lens, and the exposure time. Ideally, you should take several shots at different ISO settings and then determine which one works best. The most commonly used values are ISO 1600, ISO 3200, and ISO 6400.
In this regard, you can always rely on the histogram This will allow you to check if your photo is capturing enough detail in the shadow areas. Also, remember that the higher the ISO you use, the more noise you'll get in your image, so this is another factor to keep in mind when setting it.
Focus on the hyperfocal
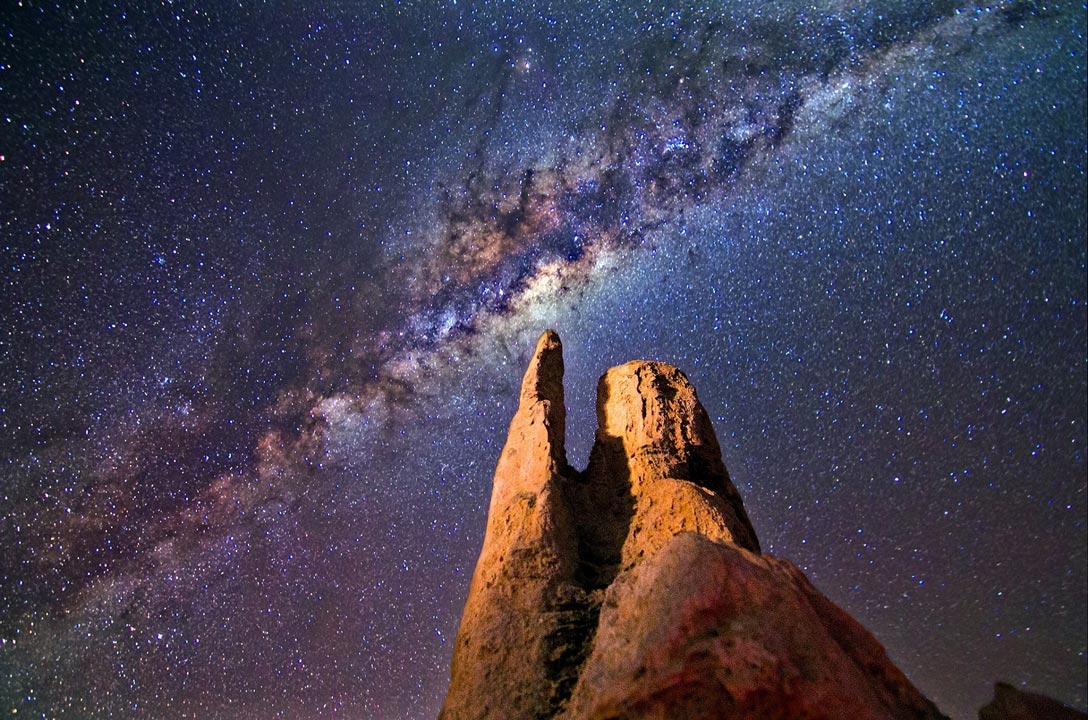
Photo by skeeze
Another important aspect of obtaining a good photograph of the Milky Way is getting the stars to appear sharp, but… how do we focus on them if we have hardly any light? There are several methods:
Focus on infinity
The first and simplest option is to put our focus in manual mode, and focus to infinity. In fact, many lenses have the infinity symbol printed on them, so you can move the focus ring to it and get the stars to appear sharp.
Focus Peaking
The second is to also work with the manual approach, but activating focus peaking (or highlight in Spanish) if your camera has the option. This function allows you to highlight the focused areas of an image with a color. To do this, it's important to set the focus mode to spot. This will allow you to zoom in on a specific area of the image and move the focus ring until you see the stars highlighted in color.
Hyperfocal
Although undoubtedly the most effective method is focusing at the hyperfocal distance. This concept may sound familiar even if you don't know exactly what it refers to, but don't worry, we'll explain it now.
Hyperfocal distance is the distance between a lens and the closest point that lens can focus on while simultaneously keeping objects at infinity—in our case, the stars—in focus. We could say it's the greatest depth of field achievable by the camera and lens working together.
There's a mathematical formula to calculate hyperfocal distance, but if you don't want to complicate things, there are many apps you can download that will help you find it. One of them is... HyperFocal Pro. We simply need to specify a few details, such as our camera model, the focal length we'll be working with, and the aperture we'll be using, and the app will calculate it automatically. The value it gives us will be the distance in meters at which we need to focus on an object with our lens. Here you can see an example. Tutorial on how Hyperfocal Pro works.
Focus at the hyperfocal distance
And how do we focus at the hyperfocal distance? You can do it before leaving home, or once you're there, although remember that at night you'll need a flashlight. Let's see how it's done step by step:
- We will calculate the hyperfocal distance using the HyperFocal Pro app, providing it with the requested information.
- We will take a meter stick, and extend it to the number of meters that the calculation has given us.
- Next, we'll place the measuring tape at the camera sensor and extend it to the indicated distance. To find the exact location of your camera's sensor, look for a symbol on the camera body: a circle with a line through it. Start measuring from that symbol.
- Place an object at the indicated meters, and illuminate it with the flashlight.
- Set your focus to automatic mode, and focus.
- Next, put the focus in manual mode and be careful not to move the focus ring, because if you do, you will lose the focus we just set to the hyperfocal distance.
And that's it! Your camera will now be properly focused for the entire session. Remember that if you place foreground elements and want them to appear sharp, they must be at the distance specified by the app; otherwise, they won't be in focus.
Use the RAW file format
Another important aspect is configuring your camera to shoot in RAW format. This format contains much more information than a JPEG file, so you'll be able to get much more out of your Milky Way photograph when editing it.
Use a remote shutter release or the camera's timer.
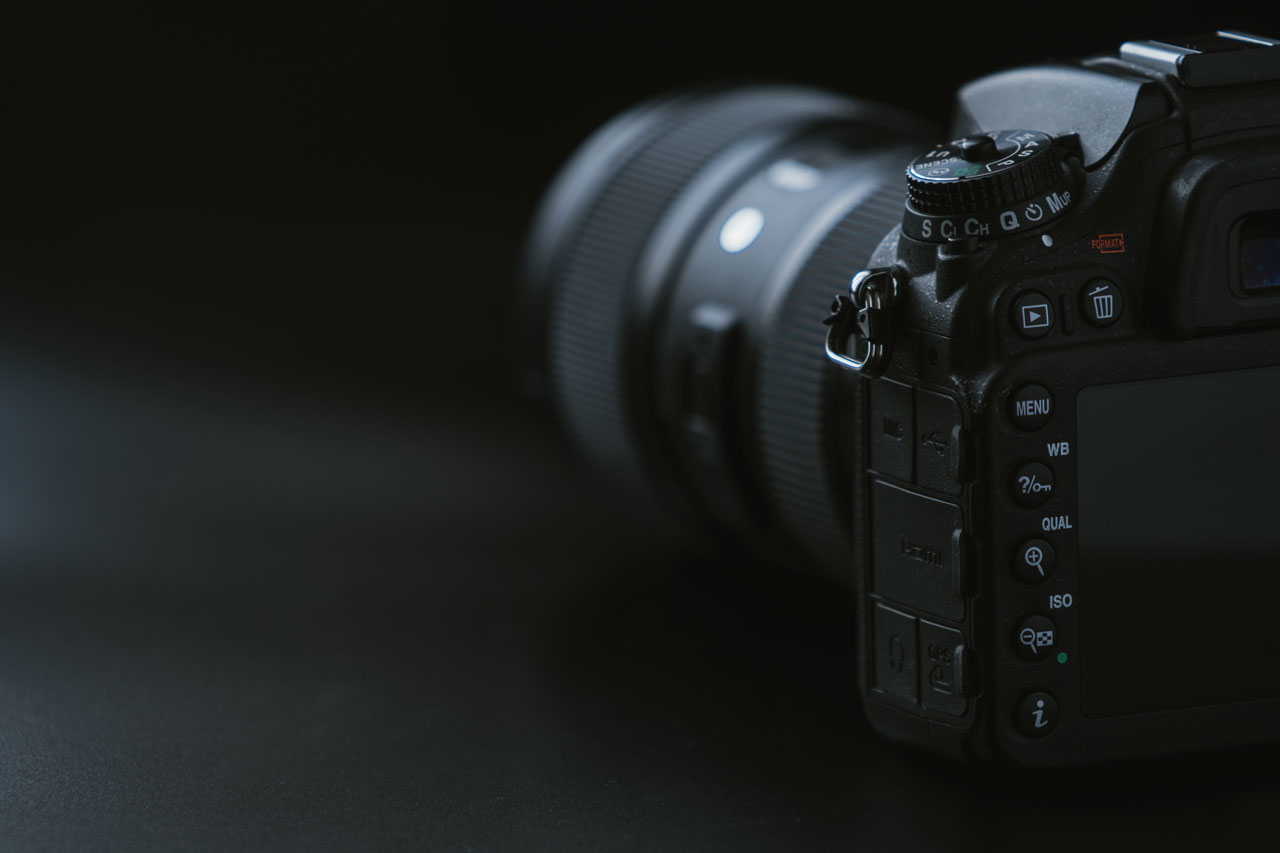
Photo by Vitaly Vlasov
It's extremely important that the camera doesn't move at all during the capture, otherwise the shot will be blurry. This also applies to the moment you press the shutter button, because even if you don't think so, you're still transmitting vibrations to the camera.
That is why it is advisable to work with a remote trigger to avoid touching the camera, but if you don't have it you can always choose to activate the timer of the camera and thus allow a few seconds from when we press the shutter button and the capture is launched.
Configure the White Balance
Although if we are shooting in RAW format this won't matter much because we can correct it without losing quality during editing, it's always nice to be able to see the results at the time of capture with colors that are quite faithful to what our eyes see.
That's why it's advisable to set it with the most neutral balance possible. If you can set the exact Kelvin temperature you'll be working with, configure it to 4000K. If your camera doesn't have that option, then opt to set the white balance to the default setting. Incandescent.
Other Notable Adjustments
Finally, I'd like to talk about the Long Exposure Noise Reduction and High ISO Noise Reduction options. While these features are intended to help us, they ultimately have two clear drawbacks.
The first of them is that we They immobilize the camera. during the same exposure time with which we made the capture, a very valuable time that we could be dedicating to making other shots.
And on the other hand, these internal processes carried out by the camera often cause losses in the level of detail of the final photograph. Therefore, taking this into account, it would be advisable to deactivate these options when taking photographs of the Milky Way.
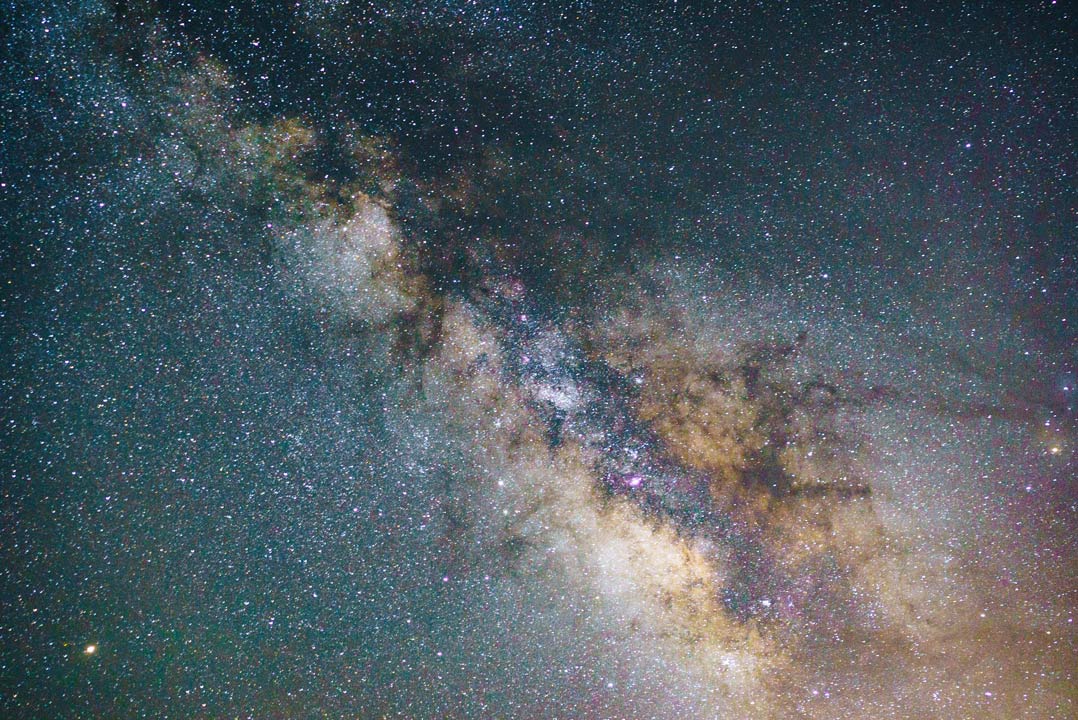
Photo by Jacub Gomez
And that's it! Our camera is now ready to capture the Milky Way. Remember that to make setting up the camera easier, in our courses You will be able to find a template that will be of great help to you.
Share this article: