

ONLINE COURSES
DEEP ASTROPHOTOGRAPHY
ONLINE COURSES
Course Bundles

Starter Pack
73€
Valued at: €77
Include the following courses
3 COURSES TO START WITH
Discover the world of astrophotography. Take your Milky Way photography to the next level, step by step. I guarantee you impeccable results. This pack is designed for those who want to get started in Milky Way photography and for photographers who want to achieve better results in their night landscape photos. Ideal for those shooting with wide-angle lenses up to 35mm. The perfect pack for those starting out in Milky Way photography.

Advanced Pack
130€
Valued at: 156€
43€ / month for 3 months
Include all Milky Way courses.
ALL MY COURSES
Designed for all levels as it includes all my Milky Way courses, whether you're an amateur or a professional, you'll achieve the best level in astrophotography capture and processing. Ideal for those who shoot with Wide-Angle to Telephoto lenses, and use or want to use Star Trackers, you'll learn what's necessary to do landscape photography, with a single shot or multiple. It's also ideal for those who want to learn to process using only Photoshop, without panels.

Expert Pack
225€
Valued at: 335€
75€ / month for 3 months
Includes all Milky Way courses (£156)
Plugin Art Panel Pro (£149)
-
- Plugin to install in Photoshop CC
- Driving course
- Updates
Services (£30)
ALL MY COURSES + ART PANEL PRO + SERVICES
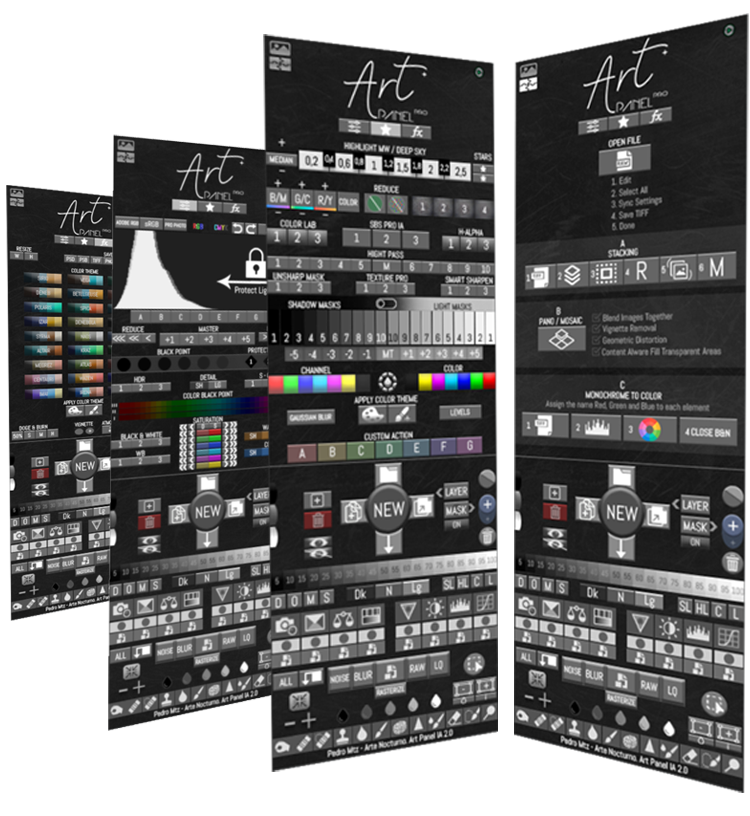
With this pack, you'll get everything from the Advanced Pack, which is ideal for all levels, and it also includes Art Panel Pro, the plugin that speeds up and enhances the processing of not just astrophotographs. It includes a tutorial focused on using each section. With the course pack, you'll first learn everything you need (planning, advanced capture, and processing). The editing part is done solely with Photoshop, and then you'll expand your options with the Art Panel Pro plugin. With all of this, plus the services and a PSD exam, you'll be an expert astrophotographer.

Premium Pack
265€
Valued at: 637€
88€ / month for 3 months
Includes all Milky Way courses (£156)
Plugin Art Panel Pro (£149)
-
- Plugin to install in Photoshop CC
- Driving course
- Updates
Services (£150)
RAW Files (£82)
Additional course (£100)
Affiliation in Night Art
- Affiliation in Night Art More information
Discounts
- Discounts on in-person workshops
- Discounts on astrophotography accessories
ALL MY COURSES + ART PANEL PRO + SERVICES + RAWS + ADDITIONAL COURSE + AFFILIATE + DISCOUNTS
Without a doubt the best option if you want to achieve results in a short time, you have at your disposal all my courses + Art Panel Pro, which includes a full driving course. In addition, you have A one-to-one session included (which you can do whenever you want), Review of 3 PSD files of the 3 photos you choose Download multiple RAW files to practice. Also the additional course: The Magic of Art Panel Pro. With the Premium Pack, you also become part of the programme for Affiliates of Night Art.
Astrophotography Courses
Achieve the best results in your Milky Way and any night sky object photos from planning. Discover the new processing techniques I've been trying and researching over the past few years.
You just need Adobe Photoshop to take any of the following courses (Except «Planning and Capture», for which you don't need any computer software, and «The Magic of Art Panel Pro», for which you will need Art Panel Pro, included in the Expert and Premium Packs)
Planning and Capture
5 Modules and 24 Lessons
9€
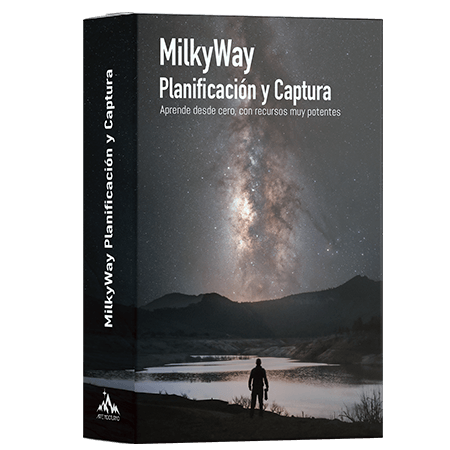
Learn how to plan and photograph the Milky Way correctly, even if you have no photography experience. I guarantee results with this course, which includes PDF downloads. Learn how to plan with Planit Pro.
Essential Photoshop
10 Modules and 20 Lessons
19€
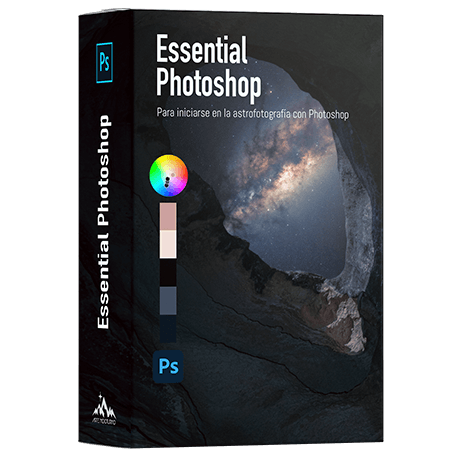
With this video tutorial course, you'll learn the essentials of Photoshop to build a solid foundation in the most commonly used options for processing the Milky Way. It includes colour theory and step-by-step explanations.
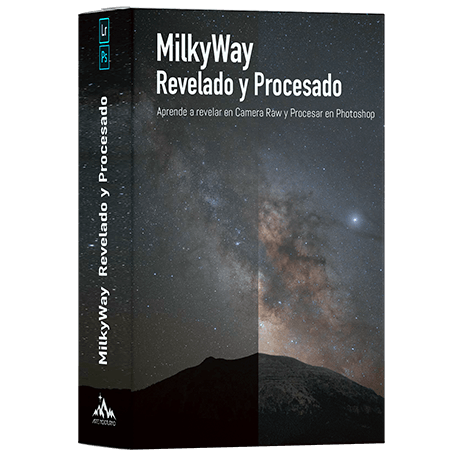
Revealed and Processed
6 Modules and 26 Lessons
49€
Learn to develop in Camera RAW and then take your Milky Way to another level in Photoshop with a workflow different to anything you've seen. Includes RAW file to practice along with the videos.
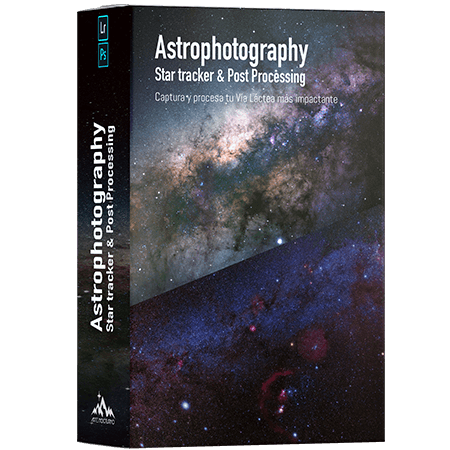
Star Tracker & Post-Processing
12 Modules and 61 Lessons
79€
Plan, capture, reveal and process your most striking Milky Way, all my secrets laid bare in this course for more experienced photographers. In this course, you'll also learn how to bring out the colours of the winter Milky Way, as well as getting the most out of astro-modified cameras.
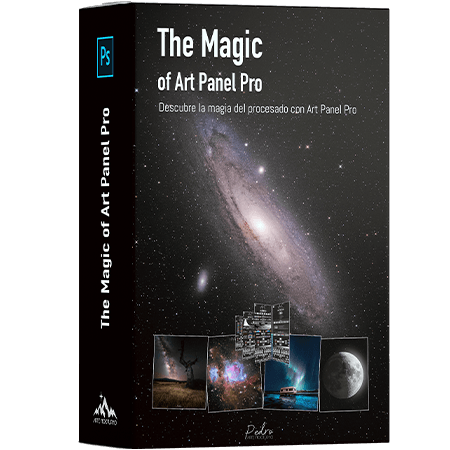
The Magic of Art Panel Pro
8 Modules and 26 Lessons
100€
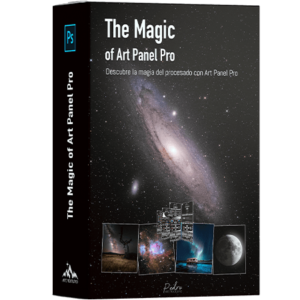
Learn to get the most out of Art Panel Pro, a course for those who have the Photoshop plugin and want to find shortcuts and tricks for any type of photography. This course and Art Panel Pro are included in the Premium Pack. (It is advisable to complete the previous courses first.)
SEE WHAT YOU'LL FIND INSIDE EACH COURSE
MilkyWay – Planning and Capture
Simple course but important reading before venturing into Milky Way photography.
PLANNING
- When?
- Where?
- Equipment preparation and recommendations
- Video summary for planning Milky Way photography
- Download templates for planning
Capture
- Exposure time
- Diaphragm and optics
- Relationship: Exposure Time and Optics
- ISO
- Steps of light
- Download parameters template
COMPLETE GUIDE TO THE MILKY WAY
- Milky Way Guide Download: Planning, Capturing and Processing
PLANIT PRO
- Initial settings
- First look
- Calendar and events (When)
- Milky Way Compositions (When)
- Dark sky (Where)
- VR headset
- Photographic tools
- The Milky Way according to hemisphere
- Stars as dots
- Starlight traces
- Beyond the Milky Way
FINAL EXAM
- Exam
Essential Photoshop
Who is this course for?
For those who have never used Photoshop, or have used it very little, the aspects that will be covered in this course are essential for processing astrophotography. We will also cover topics such as colour theory, which is fundamental for processing the Milky Way.
ORDER
- Photo organisation
IMPORT AND SAVE
- Import RAW and JPEG photos
- Troubleshooting large file saving issues
Histogram
- Interpret the Histogram
MASTER ADJUSTMENT
- How to use curves
Colour
- Colour space
- The RGB colour
- Colour theory
Colour Tools
- Hue / Saturation
- HSL – Split Tones
- Colour balance
- Intensity
- Photo Filter
- Selective Colour
MASKS
- How to use layer masks
- Luminosity masks
OPTIMISE EDITING TIME
- Record, save and load actions
- Keyboard shortcuts
Milky Way – Revealed and Processed
Who is this course for?
For everyone who has a camera setup ranging from a wide-angle lens to 35mm and wants to learn how to develop in Camera RAW (which is the same as Lightroom) and also learn how to process in Photoshop by delving into techniques for highlighting the Milky Way. This course is designed for photographers who do not shoot with star trackers, who take a single shot or two, and want to work with the ground and sky separately or together.
Introduction
- How to follow tutorials properly
- Colour space
- Camera Raw Interface
Download raw for practice
- Download
[STEP BY STEP] REVEALED IN CAMERA RAW
- Histogram
- Camera Raw Masks
- Optics
- Luminance
- Luminance with curves
- White balance
- Saturation
- HSL (Hue, Saturation, and Luminance)
- Detail
- Effects
[STEP BY STEP] PHOTOSHOP PROCESSING
- Layered workflow
- Processing by dividing: sky – ground
- Process by dividing: sky – ground (Advanced)
- White balance with curves
- White noise
- Processing sky – Milky Way
- Soil processing
AMENDMENTS
- Perspective – Distortion
- Hot Pixels
- Stelae
Final adjustments
- Camera Raw Filter
Astrophotography – Star Tracker & Post-Processing
Who is this course for?
This advanced course is for photographers who already own a star tracker or equatorial mount, and also for those who intend to acquire such accessories. In the «Necessary Equipment» lesson, discounts are included for all products on the «Telescopiomania» website and for the «MSM Rotator» brand. These discount codes have unlimited uses, which is very interesting if you are planning to invest in new equipment. Therefore, this course could cost you half price or even be free.
This will cover the precise alignment of Star Trackers, as well as techniques such as «Mosaic» (Capture and Processing) to obtain higher image quality. We will also look at combining two separately taken shots (Foreground and Sky), without forgetting noise reduction through stacking and combining techniques to achieve the least noise and sharpness in our astrophotographs.
NOISE REDUCTION (ADVANCED MODE)
- Noise reduction
- White noise
- ISO invariant
Stacked
- Stacked to reduce noise
- Advanced stacking
- Revealed before stacked
- Stacked in Sequator (sky only)
- Stacked in Starry Sky Stacker (sky only)
- Stacking in Sequator (with foreground)
- Stacked in Starry Landscape Stacker (with foreground)
ADVANCED CAPTURE (with Tracker)
- Introduction to the Star Tracker
- Locate the celestial poles
- Capture with Tracker
- Assembly and alignment
- Alignment in the Southern Hemisphere
- Equatorial mode
- Small and lightweight tracker (MSM)
STAR TRACKER EXTRA OPTIONS
- Alignment wedge
- Right-angle viewfinder
- Platform Z
- Platform V
- Lightweight tripod with a second ball head
MILKY WAY PROCESSING (ADVANCED MODE)
- RAW revealed
- Form a mosaic
- Highlight the Milky Way
- Adding volume and colour to the Milky Way
- Uniform sky (Method 1)
- Starlight
- Beautiful stars (Optional)
- Uniform sky (Method 2) + Stars
- Final composition
COMPLETE EXAMPLE WITH 35MM OPTICS
- Download 35mm photo
- Full RAW development (Milky Way)
- Full RAW development (Close-up)
- Photoshop processing
COMPLETE EXAMPLE WITH 135MM OPTICS
- Workflow with Art Panel
FULL PANORAMIC EXAMPLE WITH STAR TRACKER
- Basic planning
- Necessary equipment
- Panoramic planning (sky)
- Panoramic planning (close-up)
- Download template for panoramic planning
- Capture with Star Tracker
- File order
- Revealed sky
- Developed close-up
- Panoramic editing with PS (sky)
- Panoramic editing with PS (close-up)
- Panoramic mounting with PTGUI (Optional)
- Blending / Foreground and sky + Download brushes
- Processing
BEYOND THE CENTRE OF THE MILKY WAY
- Interesting objects
- Keys to achieving results
WINTER SKY (HN) / SUMMER SKY (HS)
- Planning
- Capture
- Developed for mosaic mounting
- Developed for stacking
- Stacking and mosaic assembly
- Introduction to winter sky processing
- Shrinking stars in dark areas of the Milky Way galaxy
- H-alpha
- Bringing out the colours of the Winter Milky Way
Art Panel Pro - Driving Course (Included in Expert and Premium Packs)
Who is this course for?
For photographers who have learned to process correctly using Photoshop alone, once you have that knowledge you can start optimising your workflow with Art Panel Pro, simplifying many steps. This course includes a video lesson for each panel button and not only shows its application in astrophotography, with Art Panel Pro you can process all types of photographs.
It is recommended to start this course and install Art Panel Pro after doing all my astrophotography courses. If you are already an expert you can start with this course.
INTRODUCTION
- Installation
- First Glimpse
MASTER BUTTONS
- Open files
- Tools
- Zoom
- Opacity
- Fusion mode
- Brushes
- Creating and deleting layers
- Mask control
- Subject selection
- To define selection
- Modify selection
- Layer via copy / cut
- Control command
- Smart objects
- Adjustment Layers
- Selection in adjustment layers
MASKS
- Luminosity masks
- Channel and colour masks
- Modify masks
- Mask fusion
DETAIL
- Focus modes
REDUCTIONS
- Reduce
STARS
- Highlight astrophotography
- SBS
Colour
- Colour Lab
- H Alpha
ACTIONS
- Custom actions
INITIAL SETTING PANEL
- Initial settings
- Black spot
- Dark coloured dot
- Saturation
- Equalise saturation
- HDR
- S-curve
- White balance
- Black and white
- Caliphate and cold
- Detail in light and shadow
- Modify histogram
EFFECTS PANEL, FILTERS, AND FINAL ADJUSTMENTS
- Doge & Burn
- Bullet points
- Filter: Atmosphere
- Filter: Orton
- Filter: Artificial Shade
- Default palettes
- Pallet application
- Saved
MULTIPLE FILES
- Stacking
- Mosaic / Panoramic
- Colour monochrome
BLENDING
- Sample composition
- Foreground and sky composition
The Magic of Art Panel Pro - Additional Course (Included in Premium Pack)
Who is this course for?
For photographers who have learned to process correctly using Photoshop alone, once you have that knowledge you can start optimising your workflow with Art Panel Pro, simplifying many steps.
This course is designed to learn how to get the most out of the Art Panel Pro plugin for different types of photography.
It is recommended to start this course and install Art Panel Pro after doing all my astrophotography courses. If you are already an expert you can start with this course.
LIGHT
- Modify artificial light output
- Modify colour of artificial light
- Artificial light + saturation tone
- Artificial light + atmosphere filter
- Artificial light + illuminated environment
PORTRAIT
- Lighting mood in portrait photography
DOGE & BURN
- Difference between opacity and flow
- Understanding how it works
- Potential light
- Applying colour to lights
- Colourise
- Final adjustments
LUNA
- Get a detailed, step-by-step guide for the Moon.
- Moon in HDR
Milky Way
- Combine foreground and sky (example 1)
- Merging foreground and sky (example 2)
- Full processing of the Milky Way centre
Social media
- Instagram vertical format
- Export with maximum quality
- Upload panoramic photos to Instagram
Orion
- Planning and capture
- Orion Revealed
- Orion Nebula
- Red, Green, Blue + Hydrogen-alpha
- Processing techniques
Andromeda Galaxy
- Andromeda
[woocs sd=4]
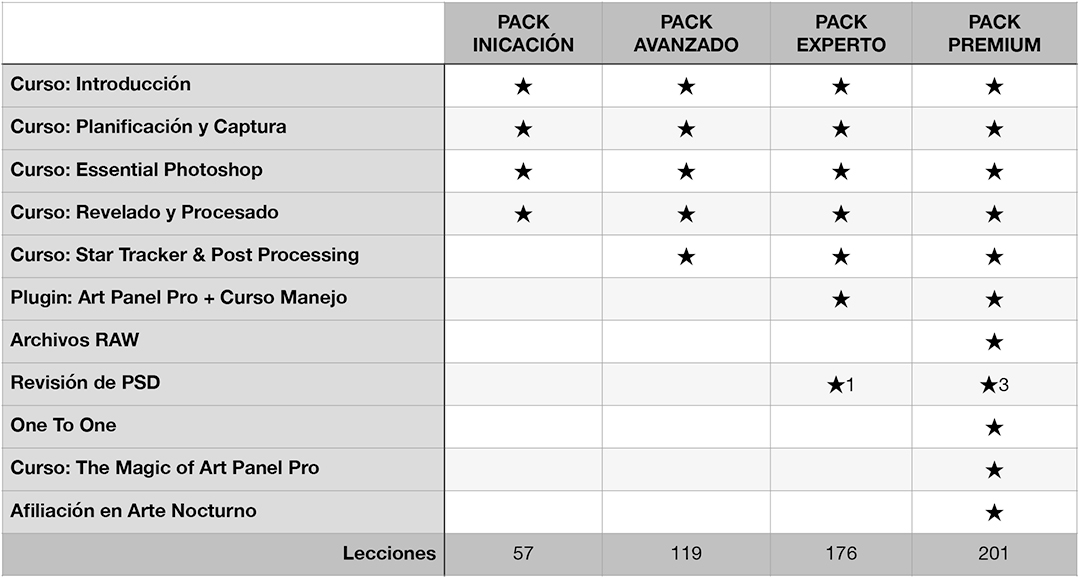
You can acquire the ADVANCED PACK, EXPERT and PREMIUM paying it in instalments over only 3 months. At the bottom of this page you have more information.


They have already done it
A very complete course that takes you through the entire process, from planning the shot to the final edit. Pedro explains everything really well. Highly recommended if you want to take your Milky Way processing to the next level.
100% recommended. I’ve gone back to some of my older images that I originally processed with other software, and the results now are spectacular. I had no experience with Photoshop at all, but the videos are engaging and easy to follow, and they teach simple step-by-step techniques you won’t find anywhere else.
A very well-structured and comprehensive course that covers all the essential aspects of Milky Way astrophotography. It’s suitable for any skill level and any editing workflow. The course interface feels polished and professional, and you can tell a huge amount of time has gone into it. I also really appreciate that everything is done entirely in Photoshop, without plugins.
After years of feeling stuck with the editing and processing of my night photos — especially Milky Way images — a friend told me about these courses. Thanks to the teaching method used throughout the training, with detailed explanations, exceptionally high-quality videos, and practice files provided by the instructor, I can honestly say this is the most complete and effective course for making a huge leap forward in your processing and taking your work to the next level. It’s essential if you want to keep improving. Thank you — I’m truly excited.
From my own experience, I realized that even though I already had some background in night photography, I was still missing a lot of important details and nuances — things I only learned through Pedro’s course. He teaches techniques and tricks you probably wouldn’t expect. My honest opinion is that this course helped me see astrophotography in a much simpler and clearer way, which has made me even more passionate about it. An incredible course, and 100% recommended. Thanks for everything, Pedro.
If you’re into astrophotography, these courses are a must-have. They’re designed for all skill levels, well organized, easy to follow, and incredibly complete. You don’t need advanced knowledge of Lightroom, Camera Raw, or Photoshop, and not relying on third-party plugins is definitely a big plus. A 100% positive experience.
You can tell Pedro is an outstanding photographer, and everything he teaches comes from years of real hands-on experience. His Milky Way course is extremely complete, well structured, and easy to follow for all skill levels. The multimedia content is excellent, from the presentations and guides to the editing tutorials. I’ve learned a lot of advanced night photography and editing techniques, and Pedro’s processing style really has its own signature — with original methods that he explains in great detail. I’m very happy with everything I’ve learned, with the course as a whole, and especially with Pedro, who is always happy to answer your questions and offers unbeatable support.
An excellent course. It covers everything from basic astronomy concepts to shooting techniques, processing, and export. It’s useful for both beginners and more experienced photographers. With a basic understanding of your camera and Lightroom and/or Photoshop, it’s easy to follow and genuinely enjoyable. The lessons are short and straight to the point, which makes everything easier to understand and keeps the course moving at a great pace. Personally, it helped me refresh concepts I had already learned and clearly improve both my shooting and post-processing. The panel is also a very intuitive editing tool — effective, focused on the options that are actually useful, and a real time-saver.
For me, it made an immediate difference in the results of my photography. I truly believe it’s a benchmark for this kind of work and will become a go-to resource for learning and reference. In short, a genuinely outstanding course. Congratulations to the author on such a brilliant achievement.
Before and after
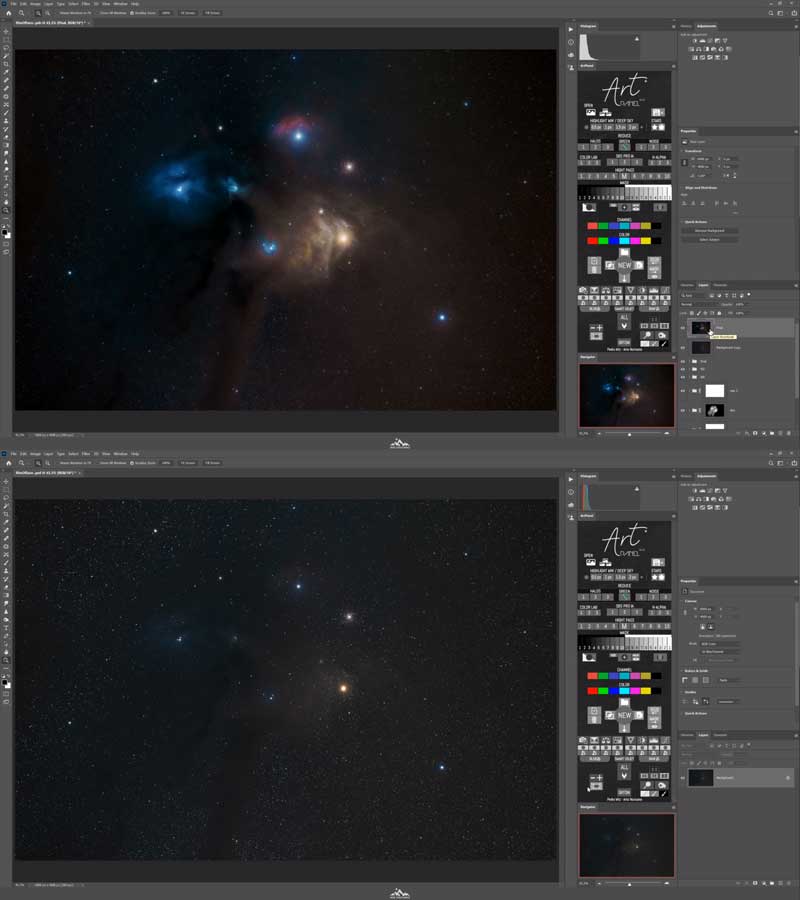
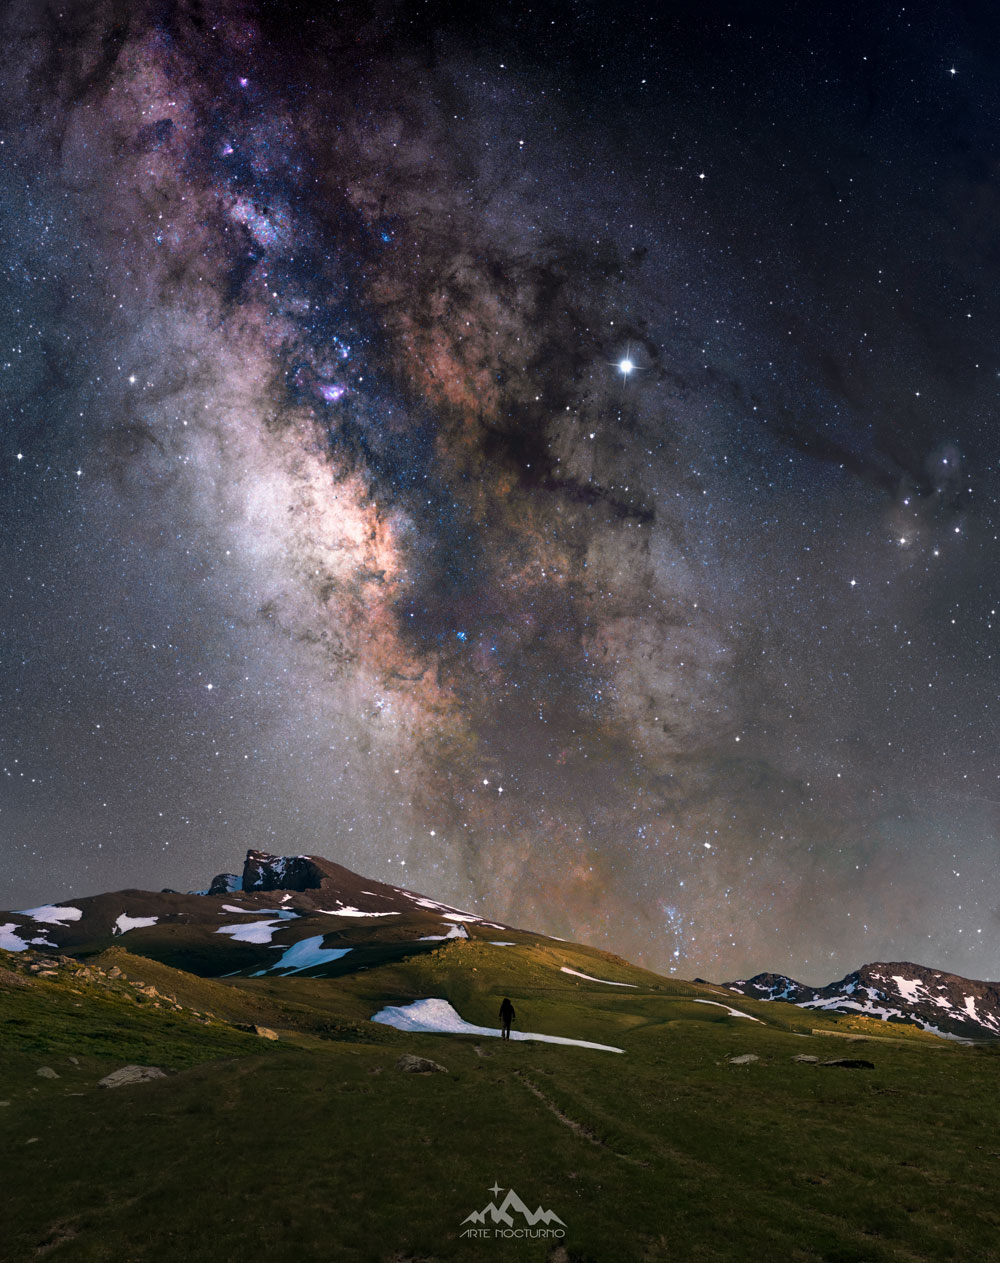
In these courses, you will be able to see the step-by-step techniques I use to achieve this result.Better quality with low to mid-range cameras.
We will look at how to capture step-by-step and how to develop photos in Camera RAW and their subsequent processing in Photoshop with never-before-seen techniques. All my secrets on how to achieve greater quality with a camera that only has 12 Mpx.
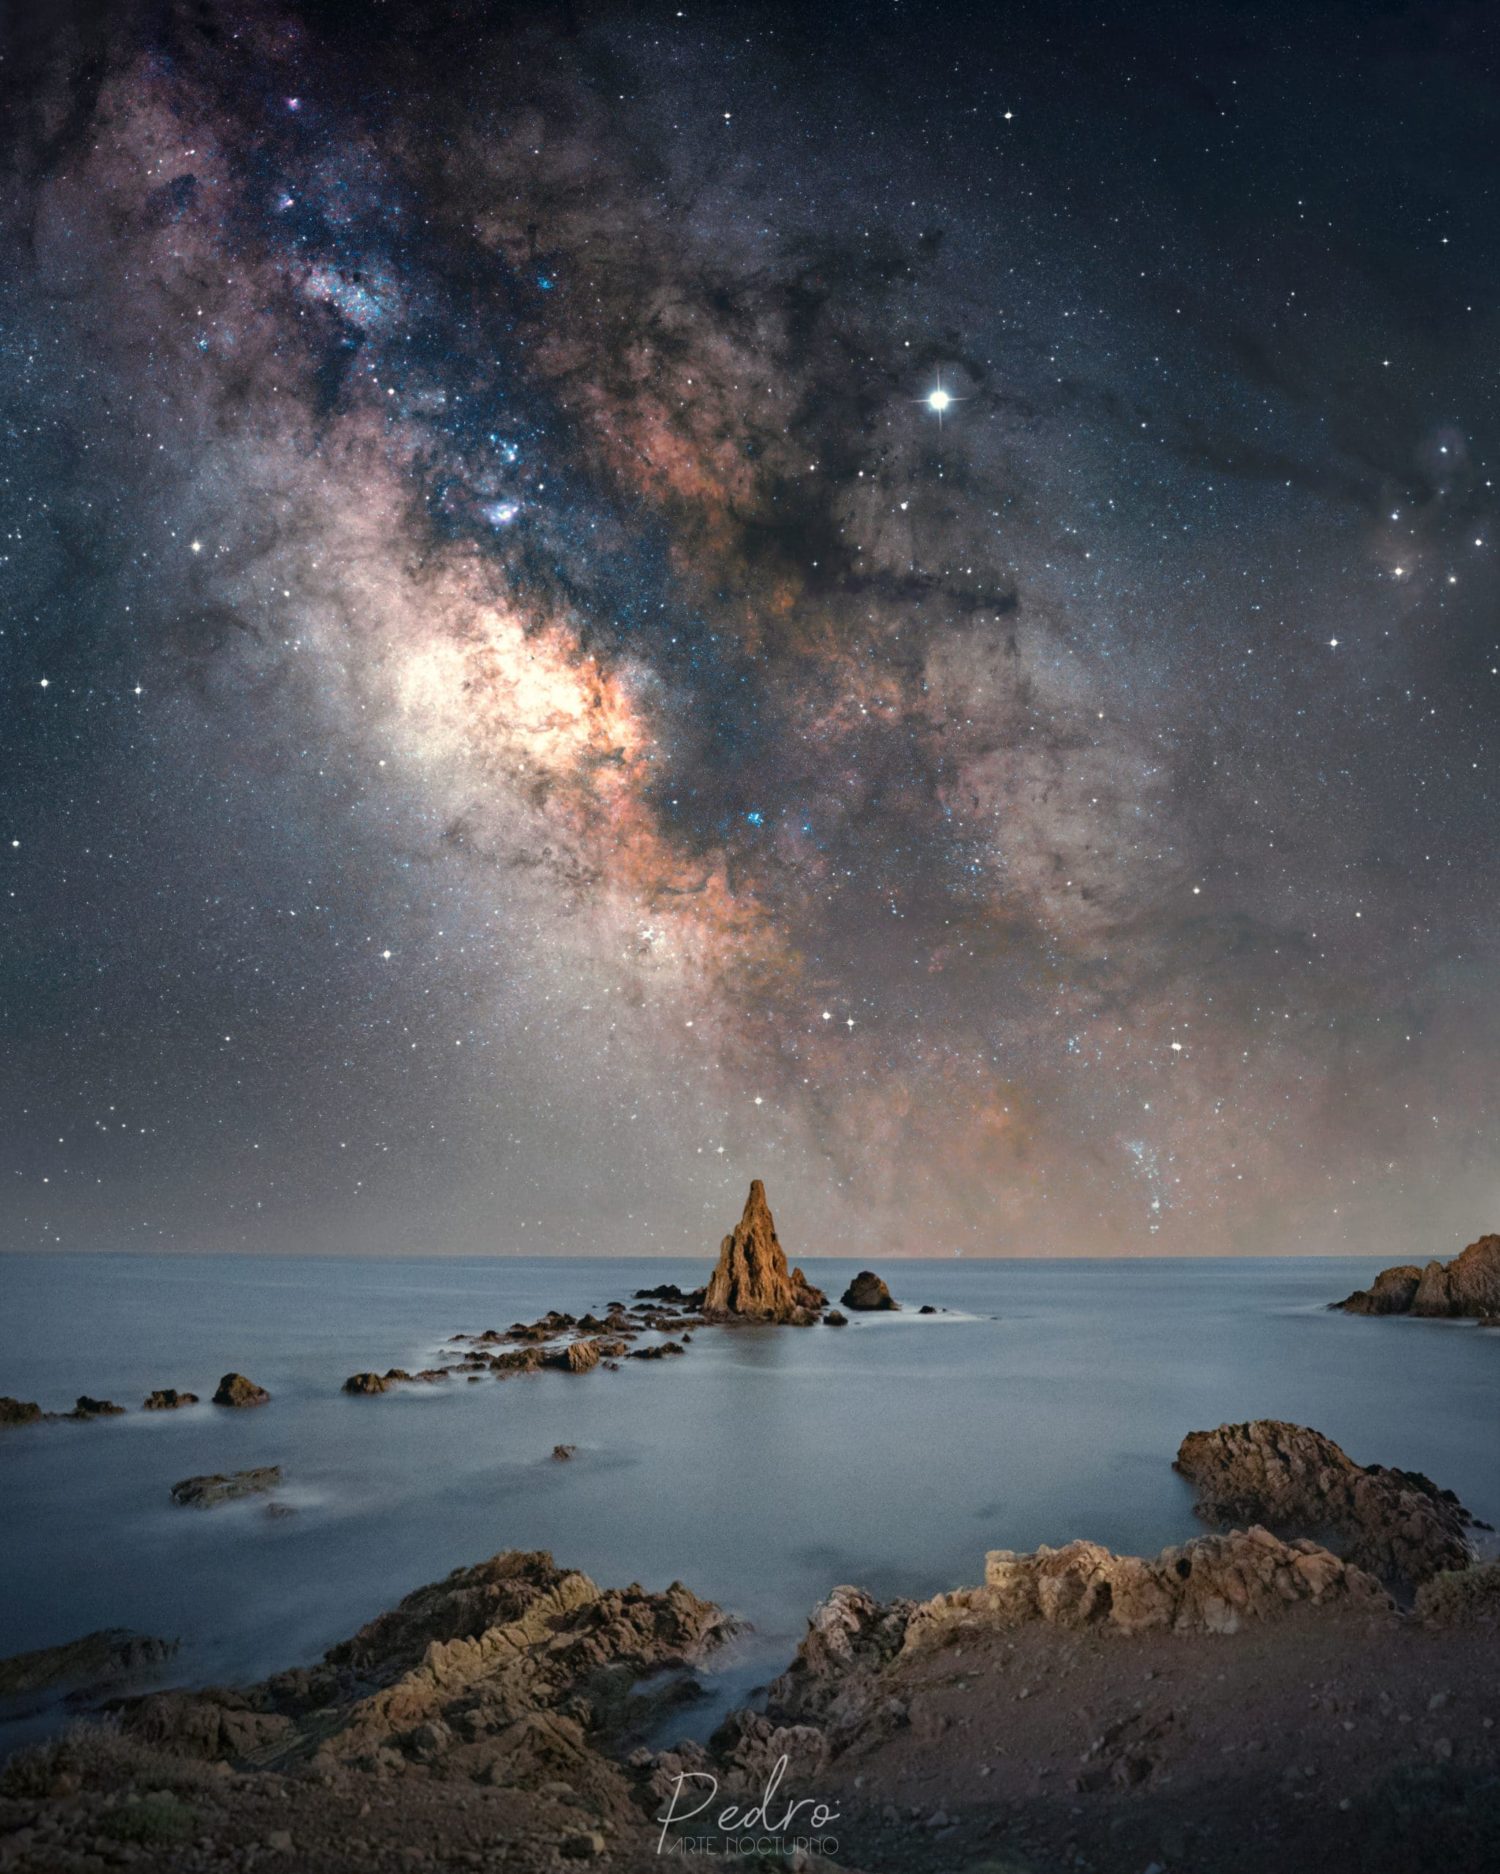
This photograph was taken with an unmodified camera:
Squeezing the RAWs.
It manages to extract information that is there, in your RAW files.
- Learn all about stacking, noise reduction and false noise
- Discover why revealing before piling
- Stack with Photoshop, Sequator or Starry Sky Stacker
- And after processing, knowing the following steps:
-
- Select the darkest point with curves
- Expose brighter areas of the object and underexpose mid-tones
- Underexpose dark areas with a shadow mask
- Highlight the object
- Reduce noise only in the sky
- Retrieve information
- SBS Adjustment (Star Blur & Sharpen)
- Underexpose dark areas of the object
- Expose whites
- Adjust Color Lab
- Highlight the object (2nd time)
- Retrieve stars and information
- Final adjustments
Panoramas with Star Tracker.
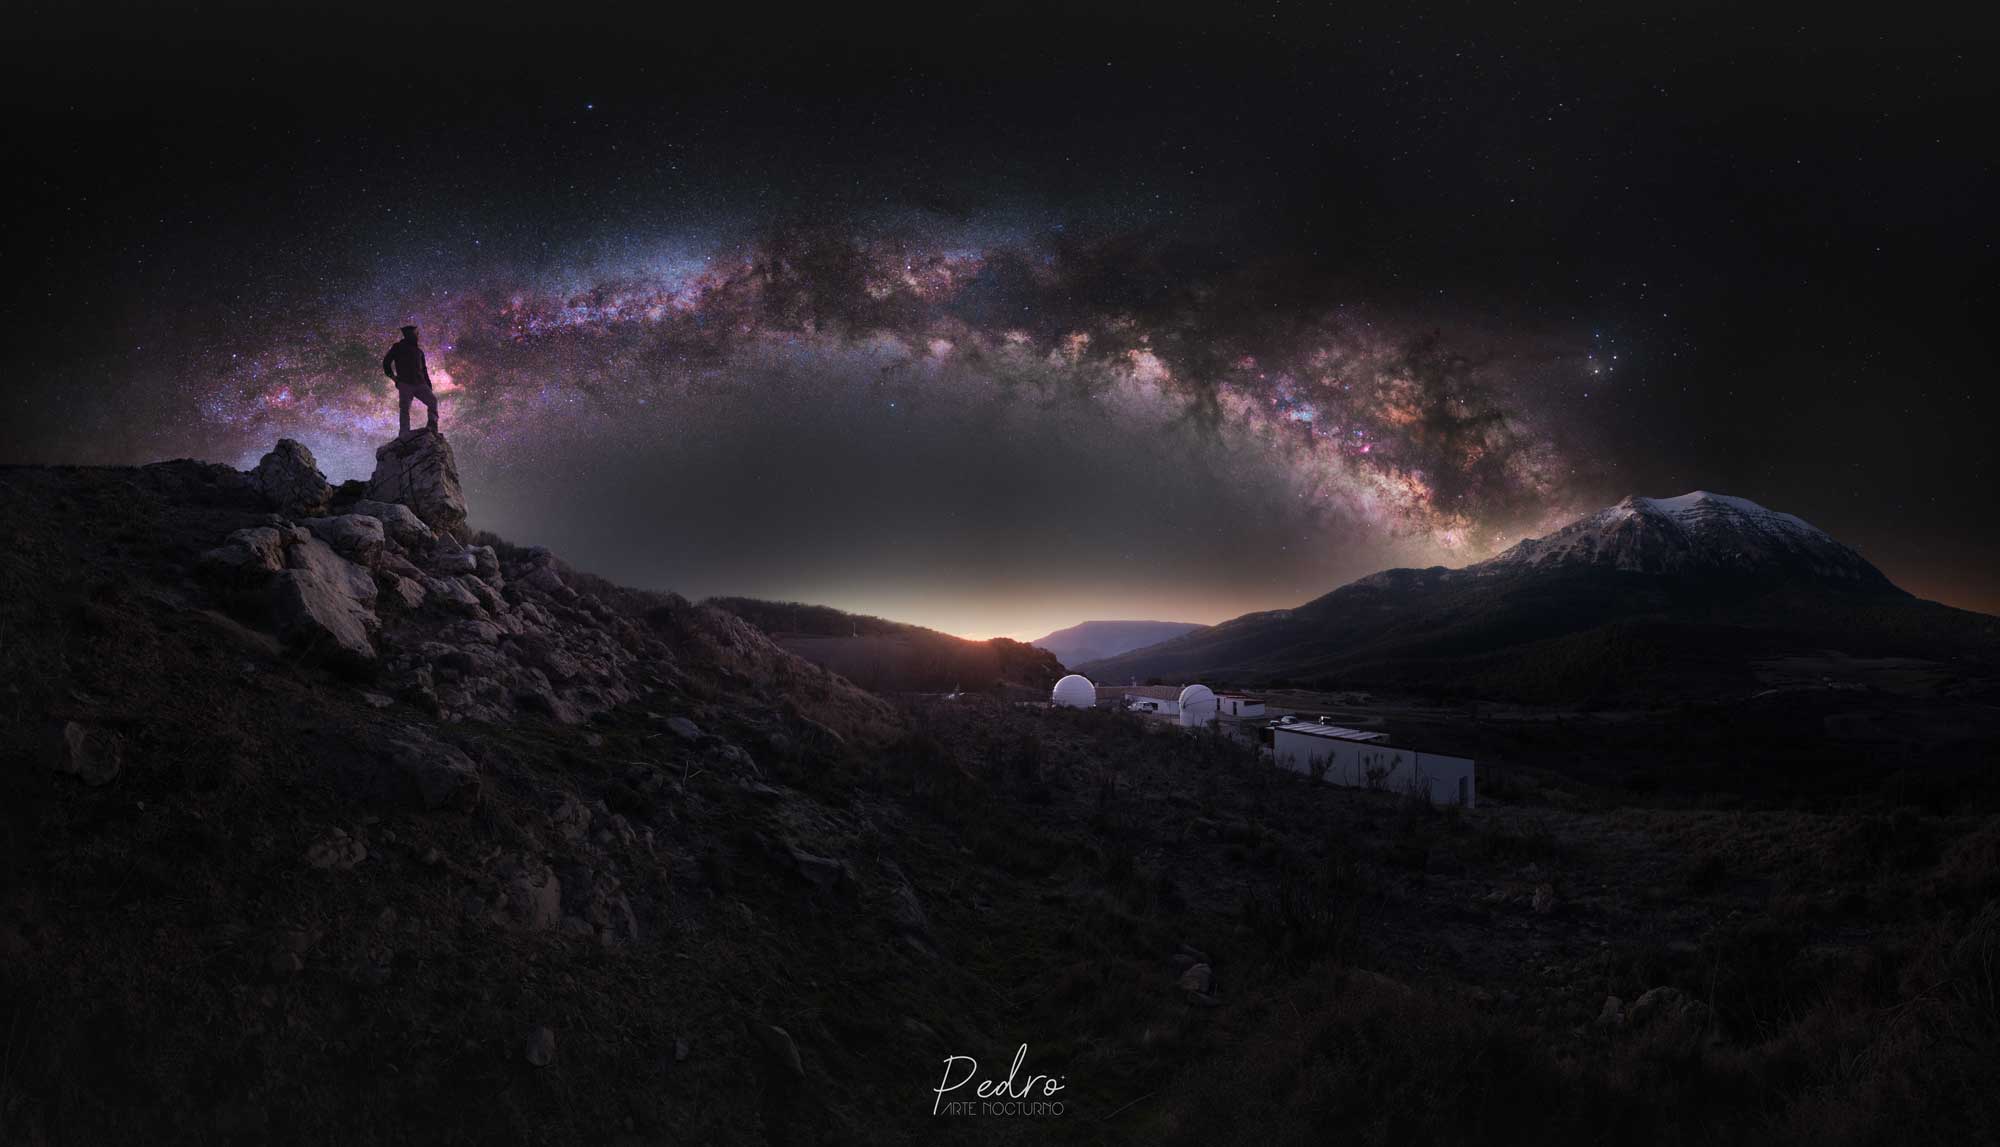
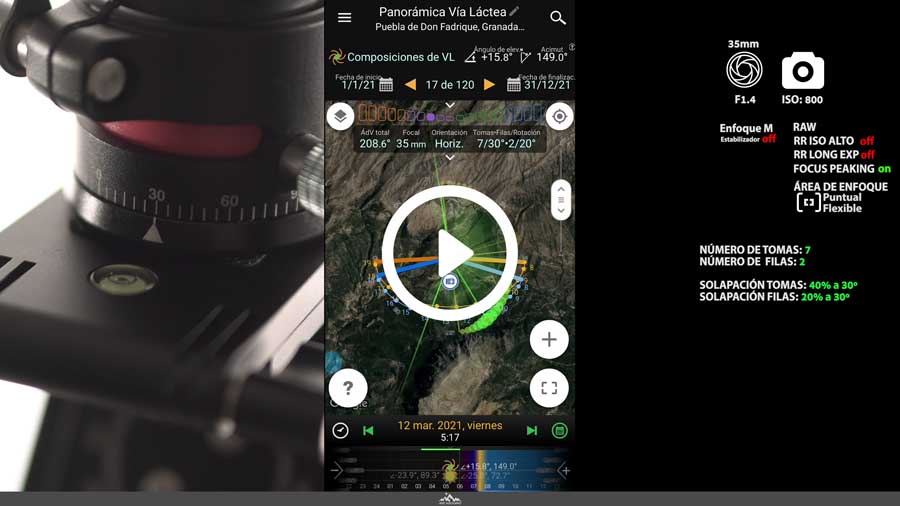
Let's look at the step-by-step process of this panoramic photo, from planning, through capture with a Star Tracker, developing each section, stitching, and processing.
This is just 1 module out of 10 that contains the course «Star Tracker & Post Processing».
Full panoramic example with Star Tracker
- Basic planning
- Necessary equipment
- Panoramic planning (sky)
- Panoramic planning (close-up)
- Download template for panoramic planning
- Capture with Star Tracker
- File order
- Revealed sky
- Developed close-up
- Panoramic editing with PS (sky)
- Panoramic editing with PS (close-up)
- Panoramic mounting with PTGUI (Optional)
- Blending / Foreground and sky + Download brushes
- Processing
FREQUENTLY ASKED QUESTIONS
Can I pay in a currency other than euros (€)?
Yes, you can pay in any currency.
How do I access the course?
From the **MY COURSES** menu at the top of the website, enter your username and password once you’re inside. (You’ll create your username and password during checkout.)
How long is the course?
There is no set duration — you can go through the course at your own pace. Even after finishing it, you can come back anytime to review any lesson whenever you need it. No need to worry about forgetting things: if you forget something, you can simply watch that part again.
What software do I need?
In the Astrophotography course, I also cover how to use other programs as an optional extra, but the only one you really need is Photoshop.
Do I need Art Panel Pro to take the course?
You can complete the course using only the tools available in Photoshop. Art Panel Pro and other programs are optional. Art Panel gives you extra help to speed up your editing workflow.
What photography gear do I need?
You can start with the basics: a camera and a tripod, then add more gear as you progress through the courses.
CHARACTERISTICS OF ALL COURSES
From scratch
You can start the training from scratch, no prior knowledge is needed, except for the Advanced course.
Unlimited access
The courses have no time limit. Access them whenever you want with unlimited lifetime access, and learn at your own pace.
Only with Photoshop
Although I show other options, you only need one programme: Photoshop. You don't need to use panels to do the course.
DEDICATED SUPPORT
Get remote support by phone, email, or WhatsApp for any questions or issues that come up.
4K TUTORIALS
The tutorials are available in 4K, so you won’t miss a single detail in the editing process. You can also choose a lower resolution if you have a slower connection.
UPDATES
You’ll get access to future course updates at no extra cost, even if the price goes up.
NO SUBSCRIPTION
There’s no subscription plan. You pay once and get access to all the content, including any future additions.
CERTIFICATE
Download the diploma that certifies your completion of each course.
Can I help you with the payment?
ADVANCED PACK
If you acquire the ADVANCED PACK You can pay in 3 months.
43€ / month for 3 months
130€

EXPERT PACK
If you acquire the EXPERT PACK You can pay in 3 months.
75€ / month for 3 months
225€
PREMIUM PACK
If you acquire the PREMIUM PACK You can pay in 3 months.
88€ / month for 3 months
265€
Pedro Mtz
Astrophotographer and Art Panel creator
I research and teach new methods for processing astrophotographs using a single editing program. I have also developed a Photoshop extension software: Art Panel, which allows for streamlining the workflow as well as giving more power to night sky objects.
If you have any questions or want to ask me anything, please get in touch with me via the WhatsApp icon or drop me a message at Facebook, Instagram o post.I am delighted to help you.